Both adults and children find “Social distancing” difficult to understand… but children most of all find it difficult to understand why they cannot go outside and play with their friends or grandparents… so I did a simulation with Duplos to help them.
I simplified the model significantly to the true covid-19 parameters – in part because we don’t have enough blocks to simulate accurately, but also because it would take too long to run a simulation through with children… the rules I used for my simulation were:
- Once infected, a person can immediately infect others
- Once infect it takes 3 days of being infected but having no symptoms before being sick with symptoms
- Once sick with symptoms it takes 3 days in hospital or 6 days out of hospital to recover.
- Elderly people who are sick with symptoms and do not get to hospital die… this may seem a bit brutal, but it helps illustrate the effects well.
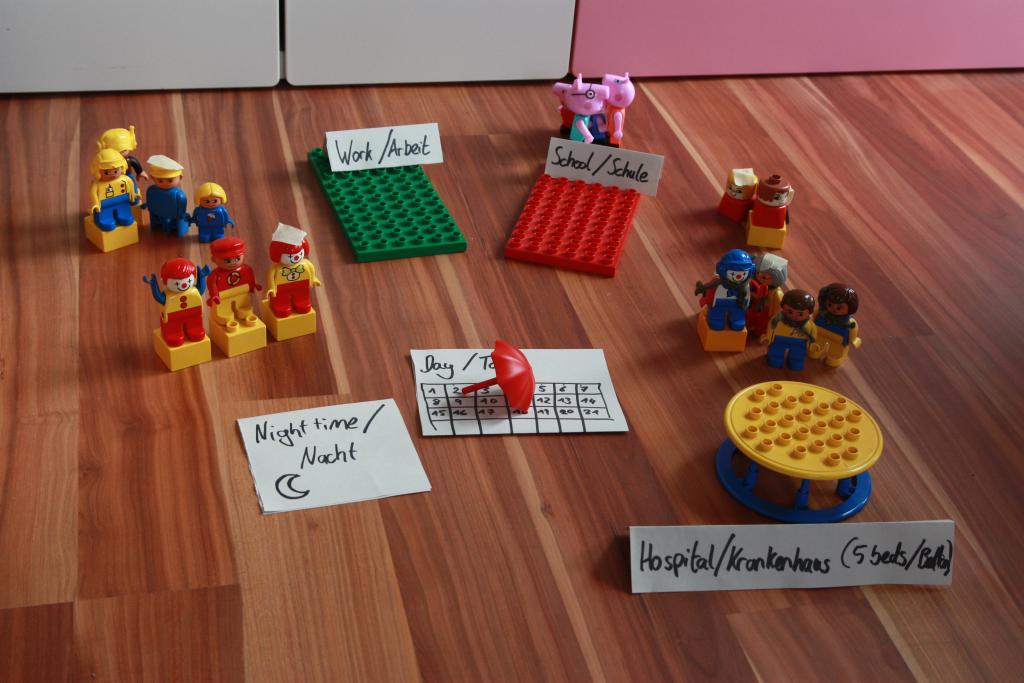
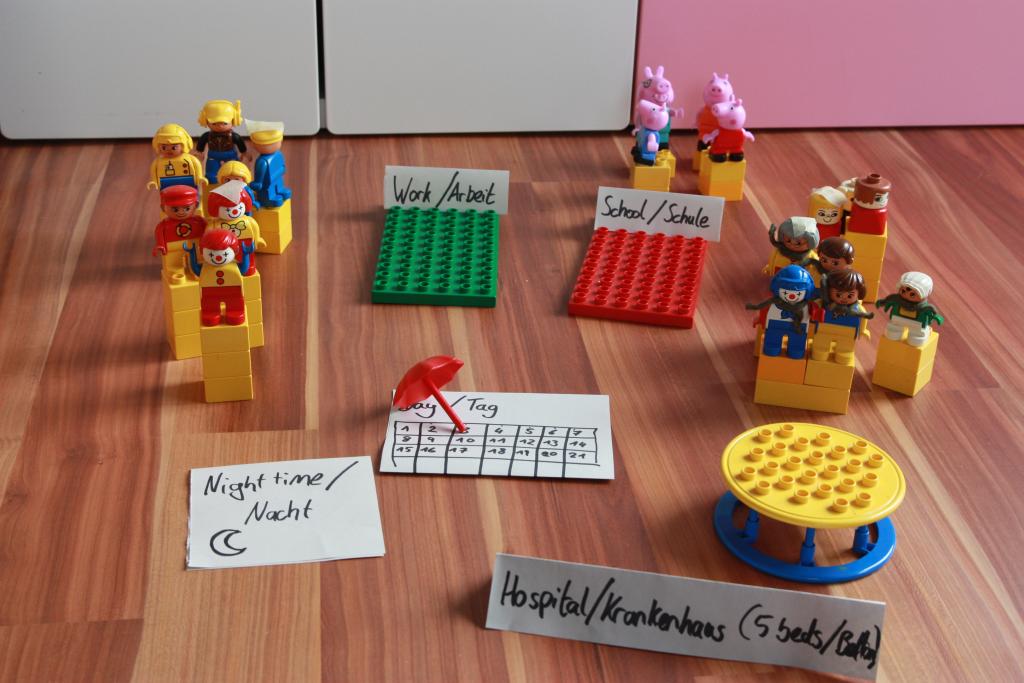
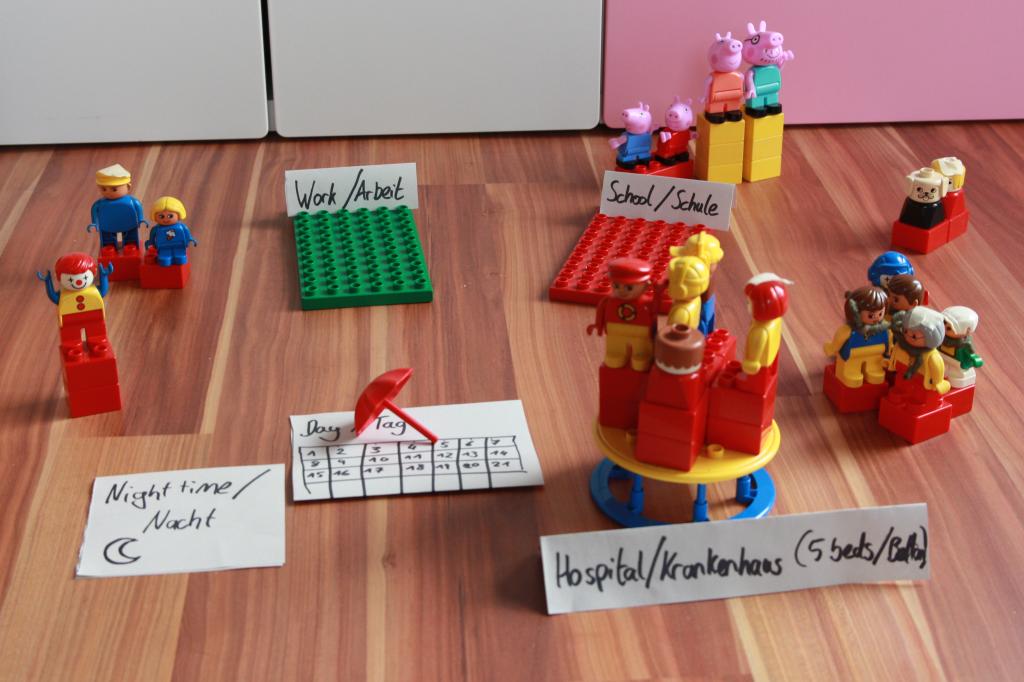
So to start with, I made 5 families (a village) and assumed a situation where the pandemic is already active in the world, but has not yet reached this village. One person will be the first to bring the infection into the village and we can run through the simulation with different social-distancing policies to see what effect is.
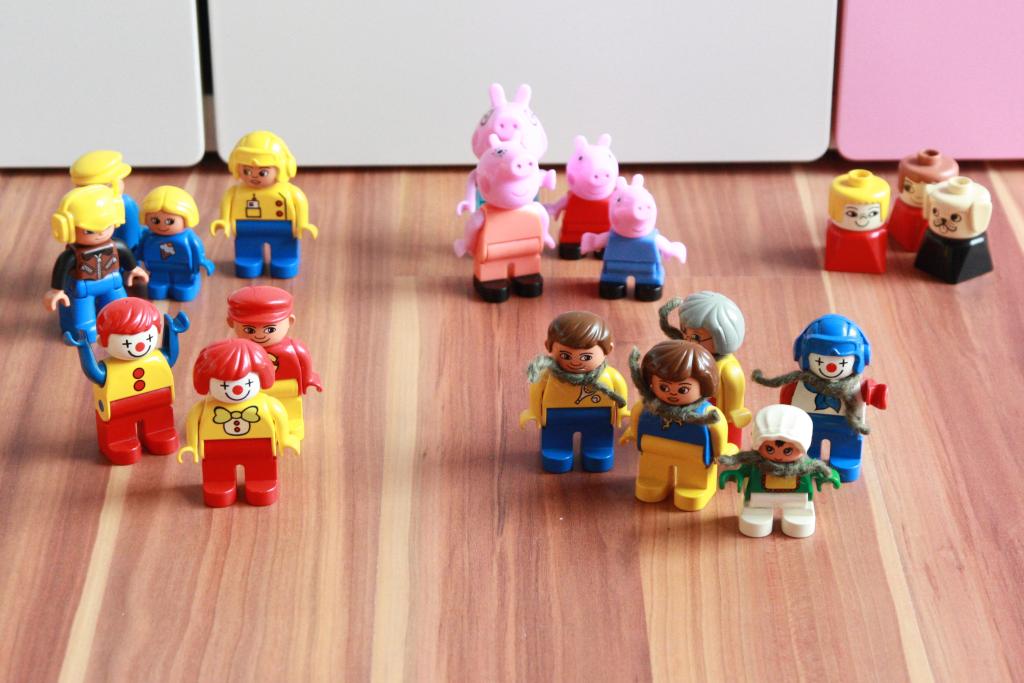
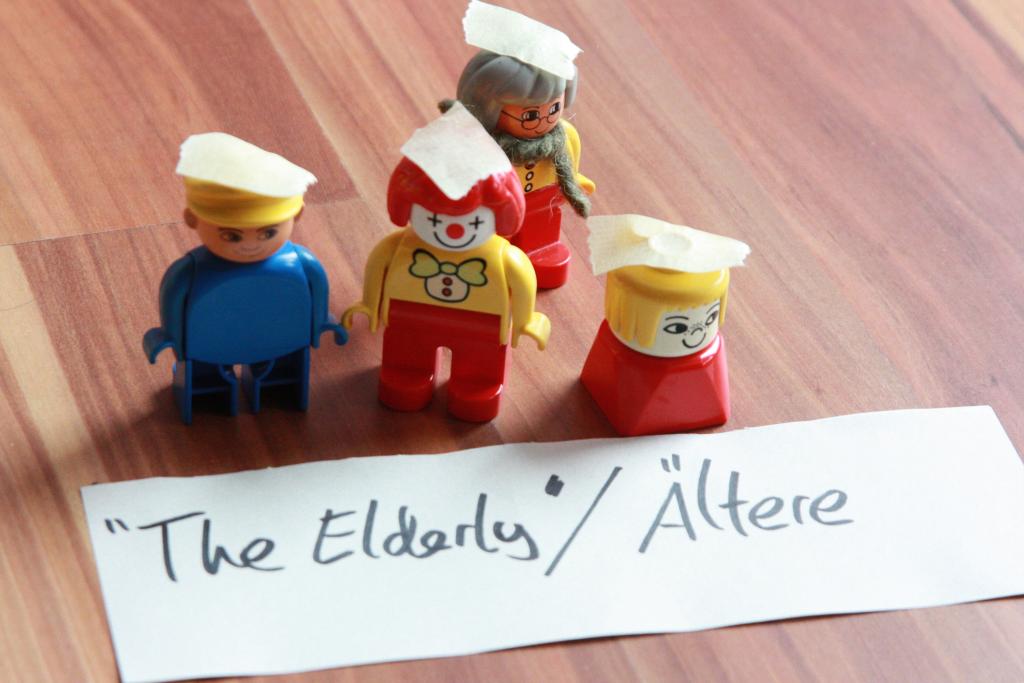
Some of the people are marked as “Elderly”.
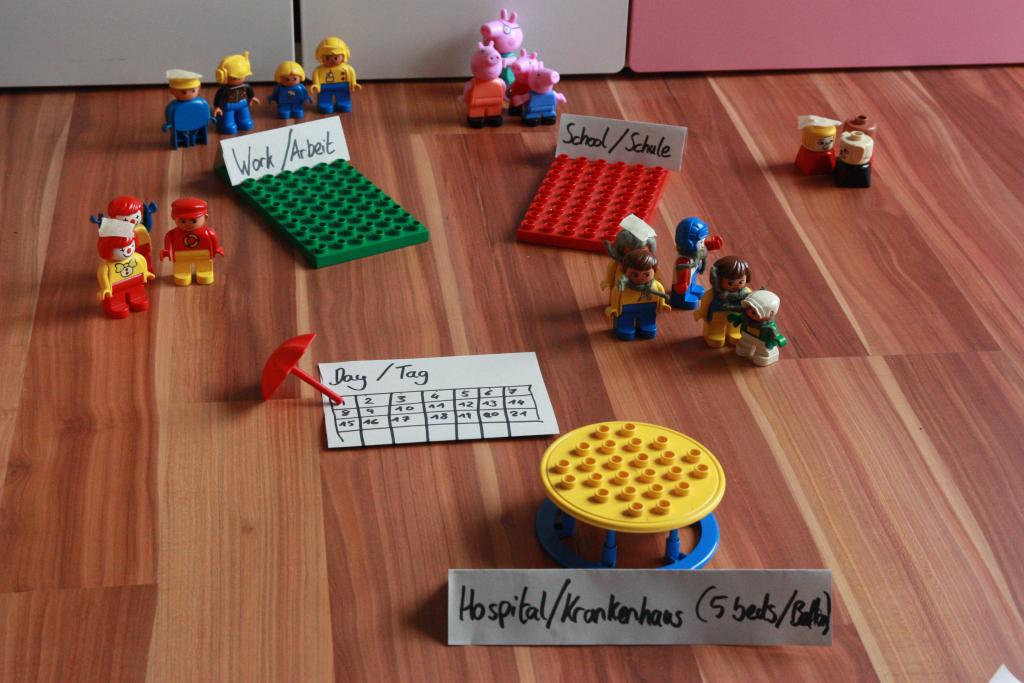
An infection is marked by a yellow brick that the person is standing on. Remember – in our model here a person can be infected (and infectious) for 3 days before showing symptoms, and each day is marked by an additional yellow brick.
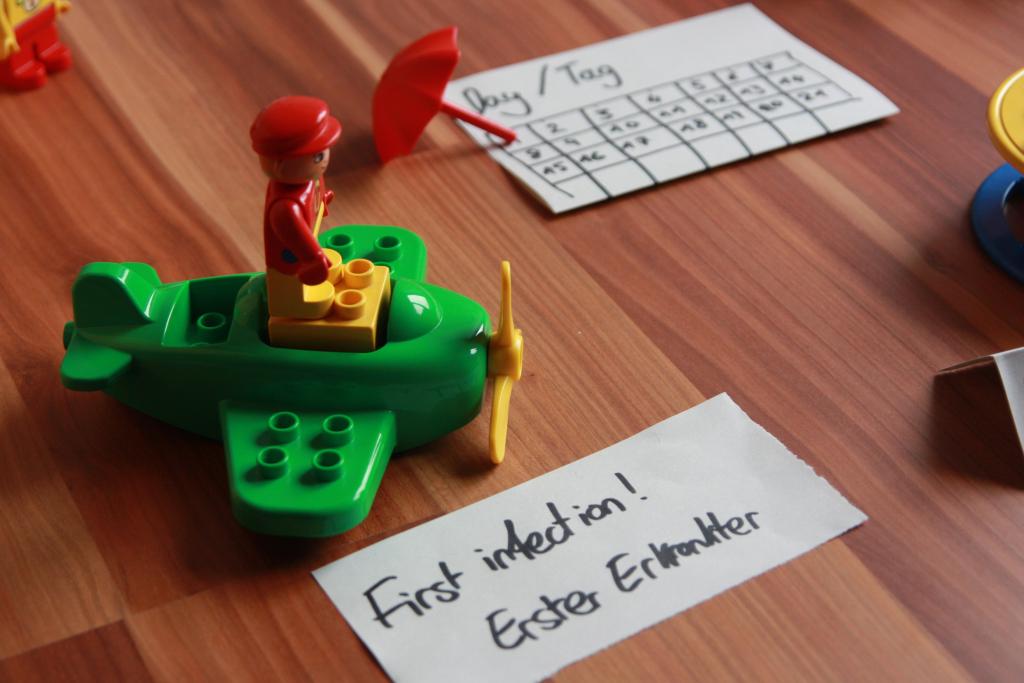
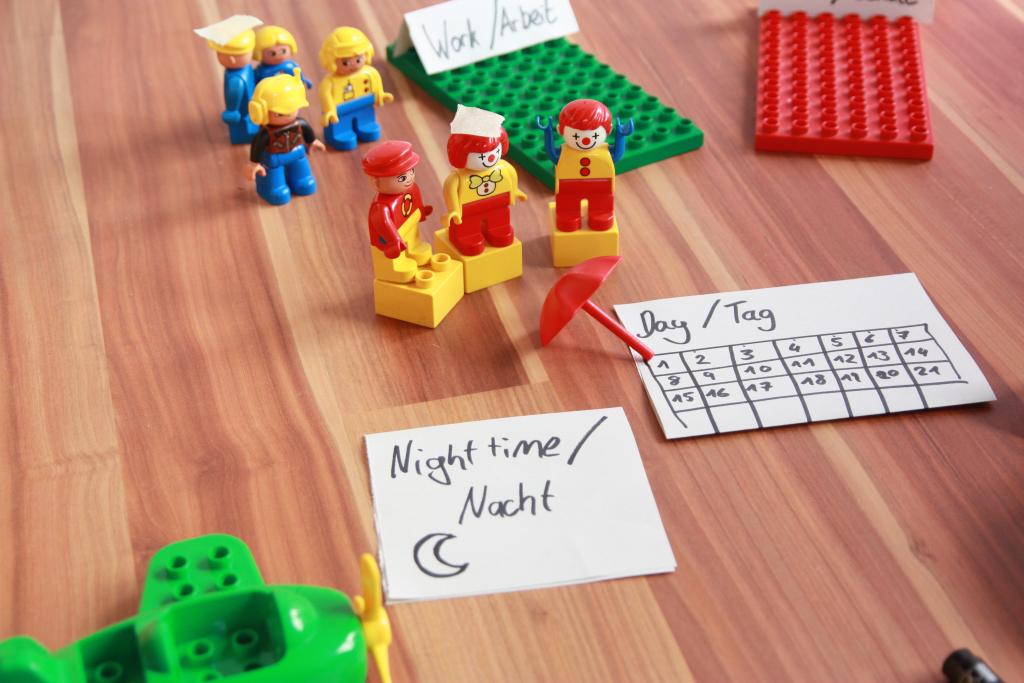
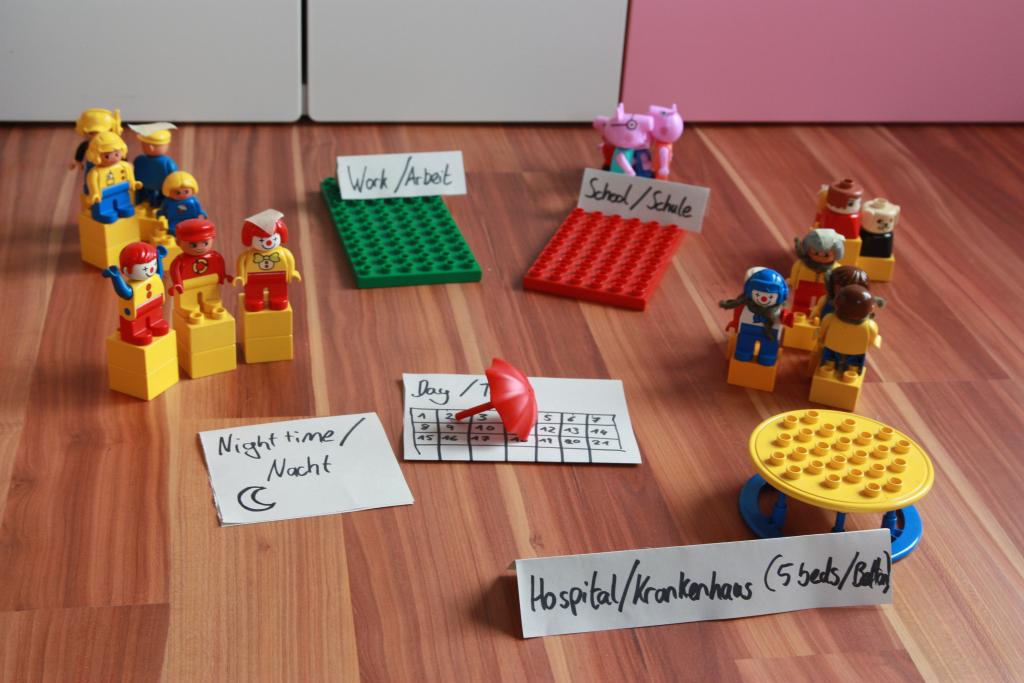
In my simulation, “Red-head” was away on holidays and brought the infection home with them. They are not “patient-zero” globally, just in this village. They spread the infection to the rest of their family on the first night.
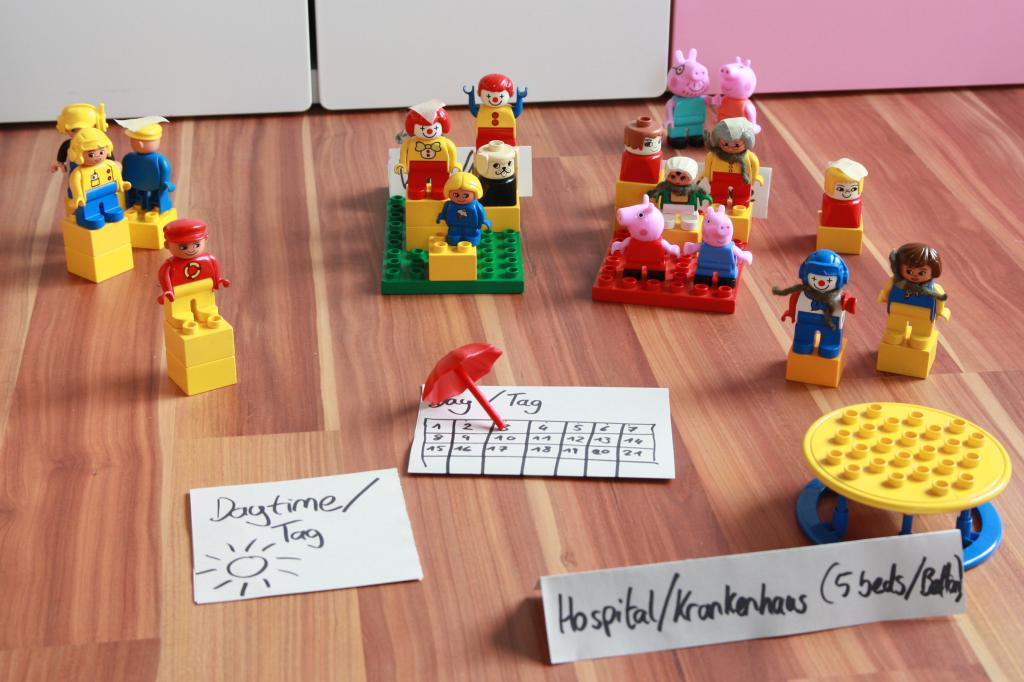
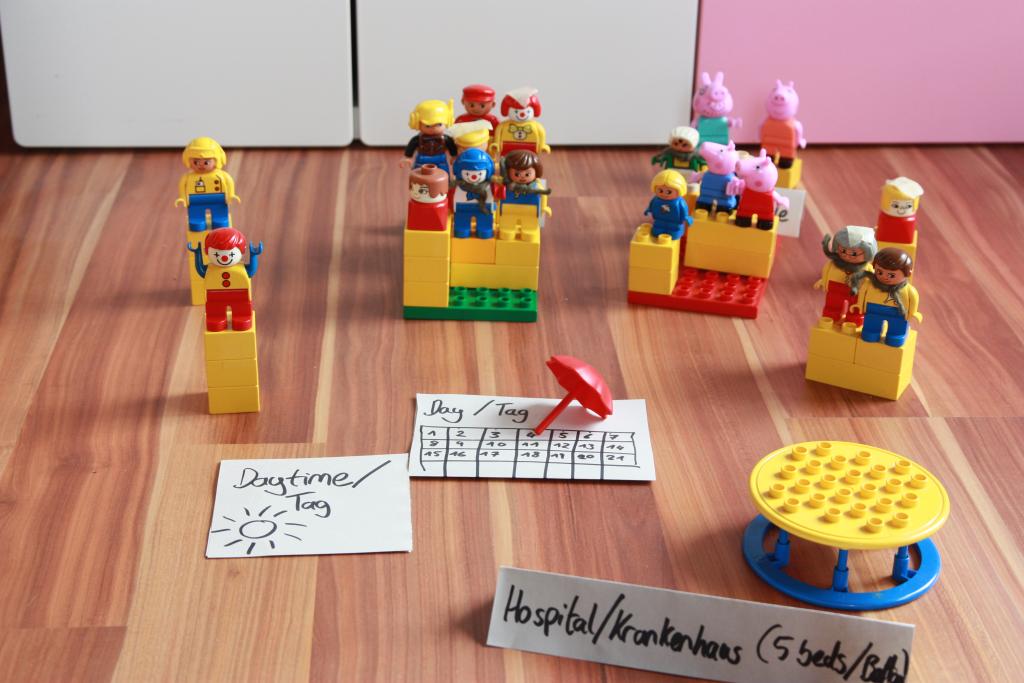
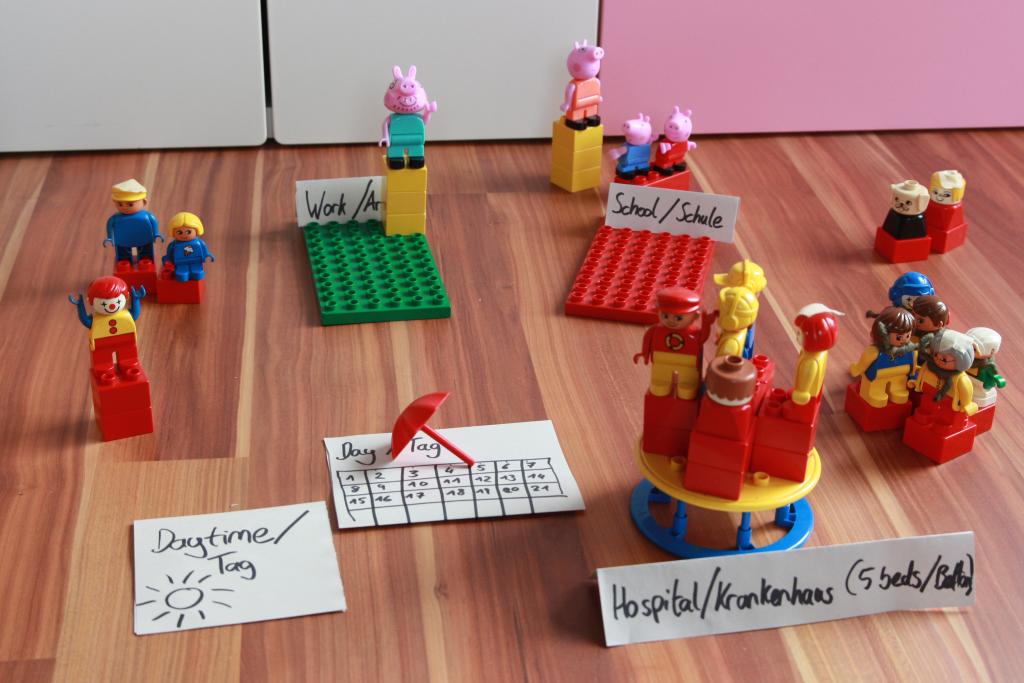
The next day everyone goes to school and work… the infection spreads to other families…
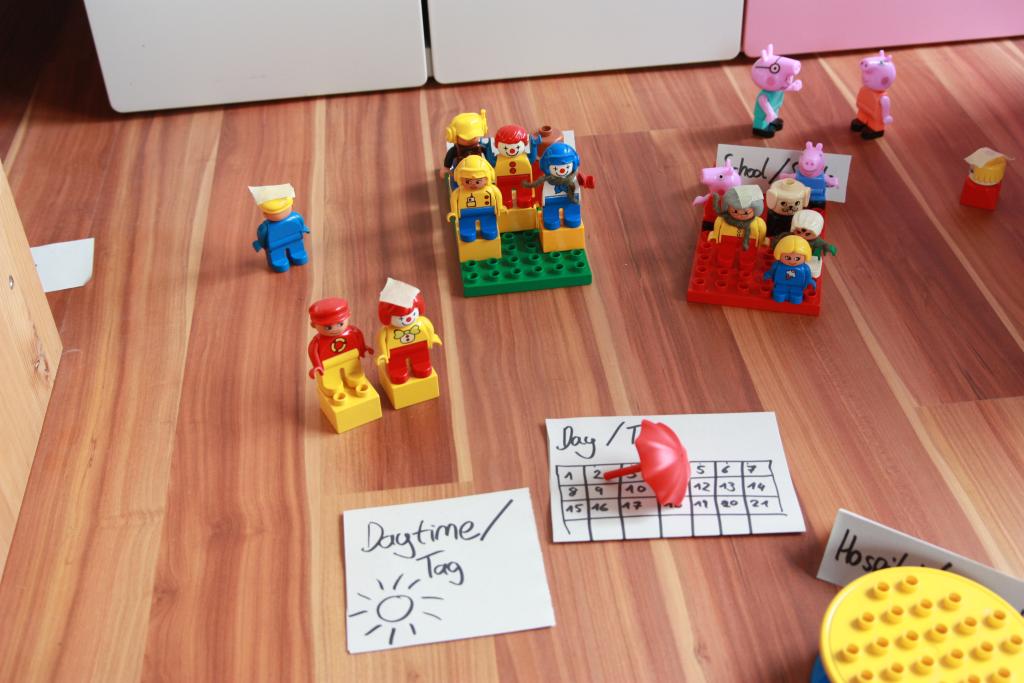
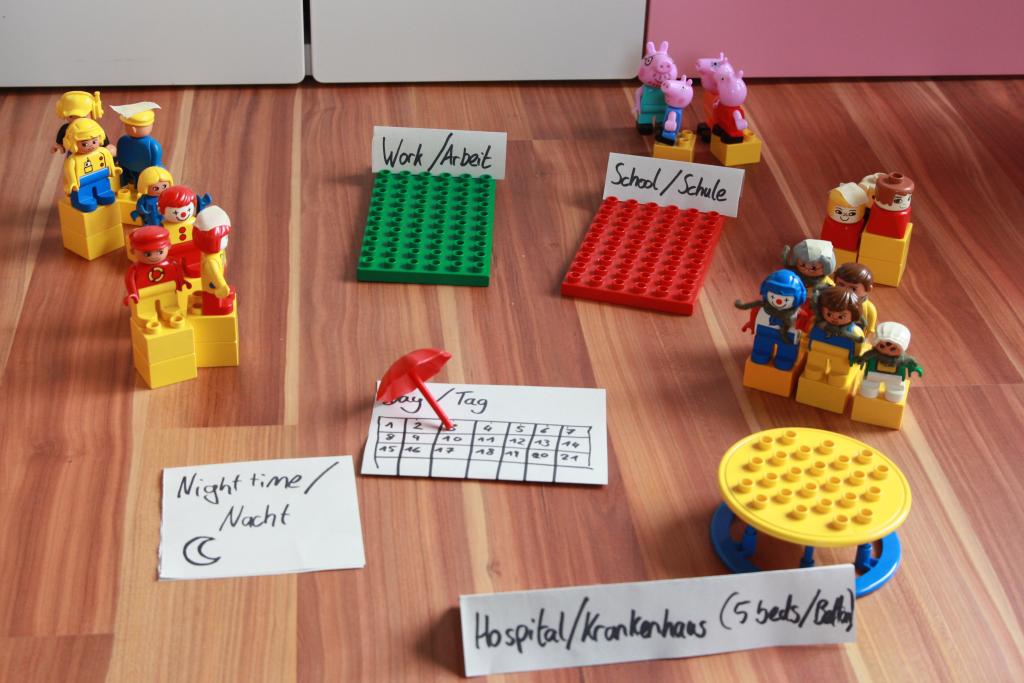
After the second day, everyone goes home and bring the infection home with them… the Pig family is the only family who didn’t get any infection brought home … yet…
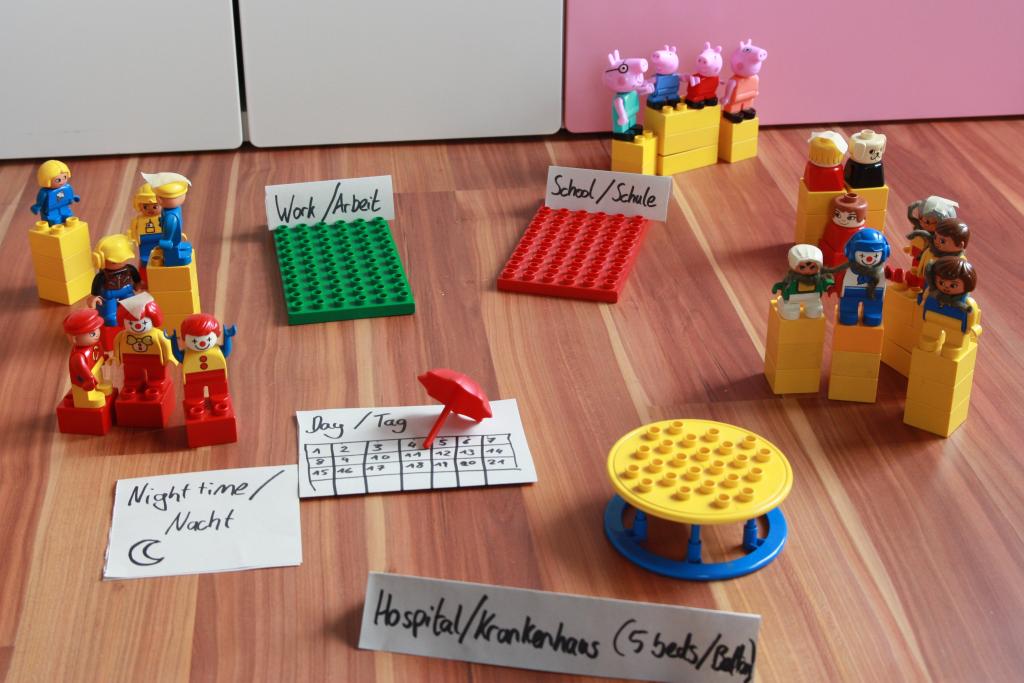
Over night the infection spreads…
On day 3 the infection spreads further to the school.
On night 3 every family is now infected, but nobody knows it yet…
Day 4 and we still have everybody moving around as usual, all infected, but nobody showing symptoms… yet…

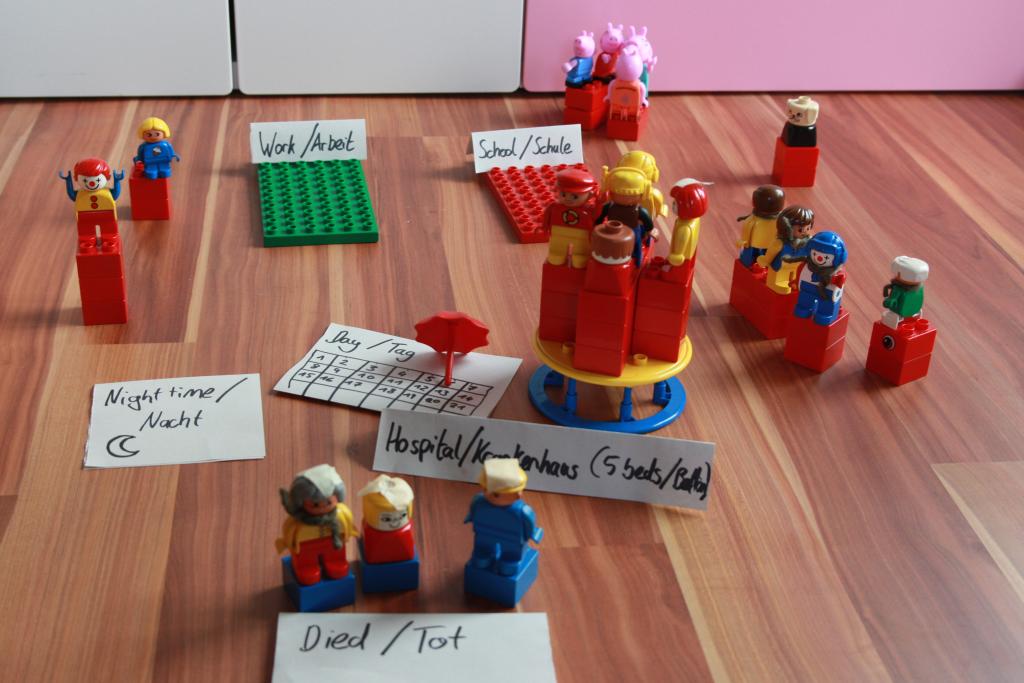
On night 4 as the sickness progresses, we have the first people showing symptoms (3 yellow bricks replaced with one red brick)
On day 5 there are already 6 people showing symptoms … and the 5-bed hospital is already full!
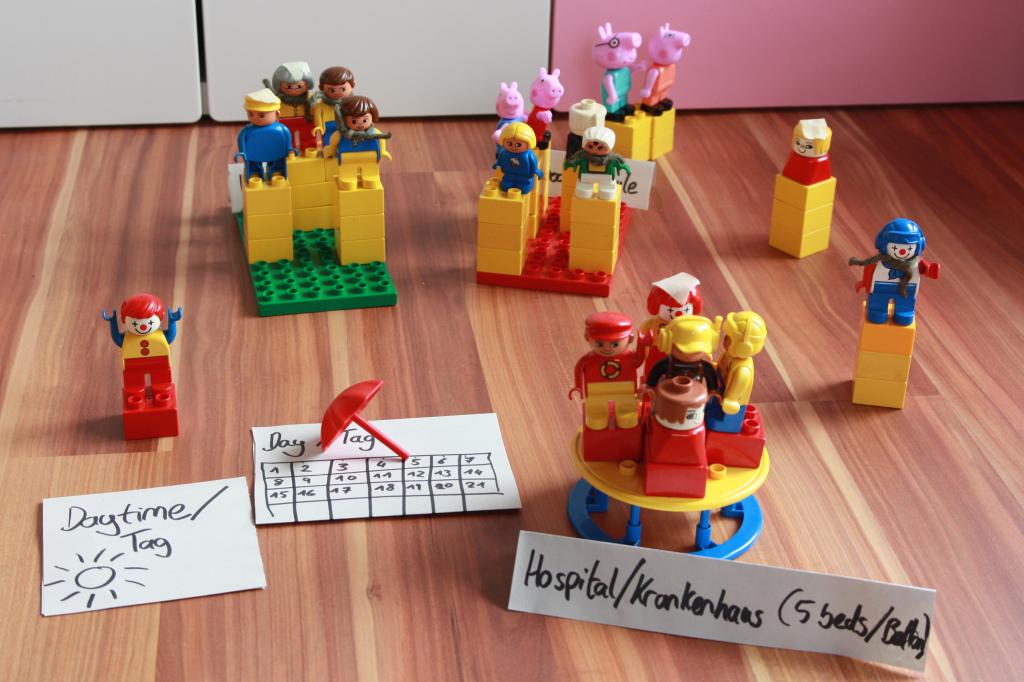
In the following night the sickness continues and we have a lot of people sick!
Day 6 (I forgot to move the marker…) and there are many sick, many who cannot get into the hospital, and those who are sick stay at home… hardly anybody can work any more… it’s not looking good!
The next night all of those who were sick, could not get to hospital _and_ were elderly died (red block exchanged for a blue one).
From this point on you can play it out until the end where everybody is either recovered (green block) or dead (blue block).
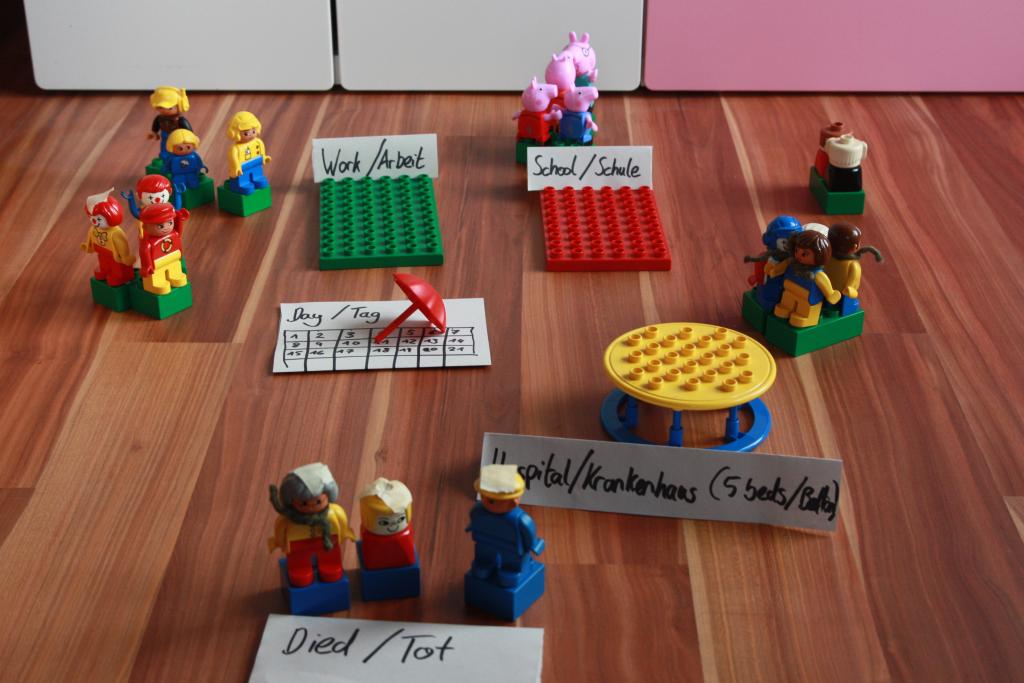
The kids really enjoyed playing this simulation with me and were very methodical about adding and exchanging the blocks to follow the rules of the sickness that we had agreed on at the beginning. We played the game a few times with different movements: social distancing, total lock down, and looked each time how many people died or survived. The children understood the game aspect of it (our 3 year old decided to take papa pig and fly him around in circles above the town for the duration of the sickness so he wouldn’t get infected at all!), and it helped a lot for them to understand that even though they might get sick and better without a problem, it is still helpful for them not to go out and meet with other children to protect our elderly and vulnerable friends and neighbours.
I hope this sequence of pictures helped, and maybe you will play the pandemic game with your children and it will give you an hour of entertainment and possibly help them understand better what is going on in the world right now.